WPF C# Tutorial – Create a save the presents item drop down game in visual studio
- Subject: WPF C# Tutorials
- Learning Time: 3 hours
Welcome to a new WPF C# Tutorial. In this tutorial we will show you how to make a simple item drop down game similar to the save the eggs drop down game we made for windows form application. In the spirit of the holidays we are making a save the presents item drops down game in WPF C# in Visual Studio 2017. You can use any version of visual studio long as it supports WPF forms. No extra framework will be required for this tutorial. Although you may need the graphic assets for the game which can be downloaded from below. Let’s get started
Lesson objectives –
- Create an item drop down game in WPF C# with Visual Studio
- Use custom function and events to make this game
- Use Switch Statements, if statements and object loops to instruct the game what to do
- Capture mouse movements in WPF and attach an image to follow the mouse in the horizontal direction
- Program collisions and movements between objects dynamically
- Use transparent PNG images in WPF and C#
- Add and remove objects from the game dynamically
- Use timer and timer events in WPF C#
Video Tutorial –
Download Save The Presents game assets here
Load up Visual Studio and make a new project.

Call this project catch the presents game and click OK.
This is the empty screen for the default WPF application.
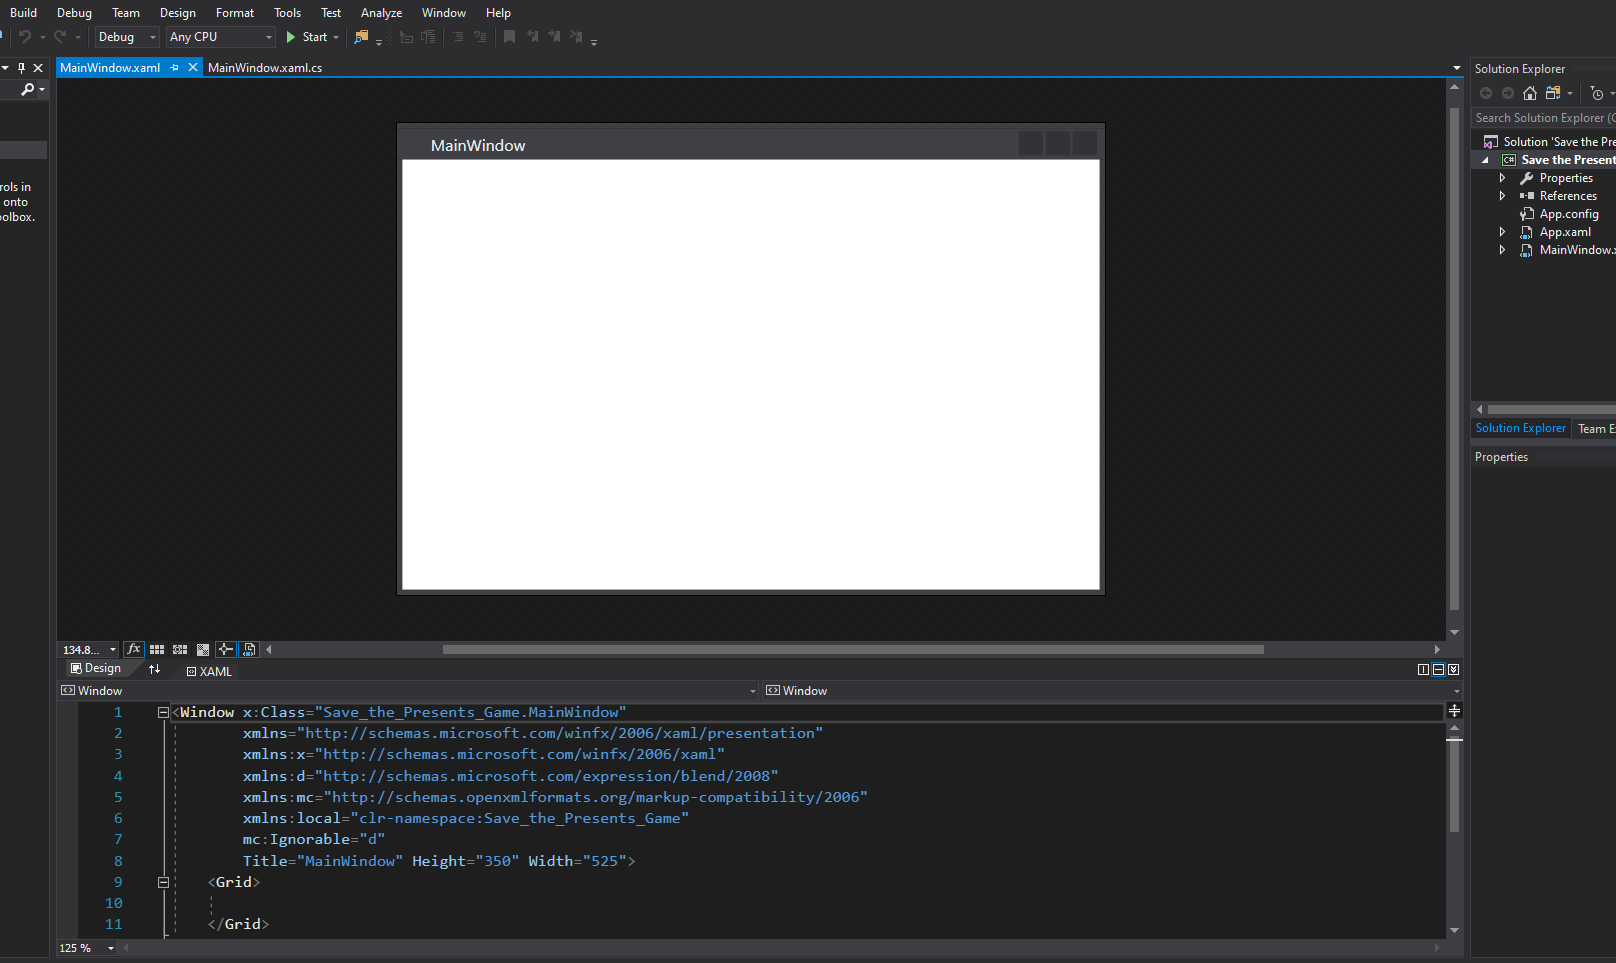
Add the following the XAML part of the code highlighted in the image below.

Don’t delete everything form there just make sure you add the code while you understand what is going on here. See the explanations under the code.
<Window x:Class="Save_the_Presents_Game.MainWindow"
        xmlns="http://schemas.microsoft.com/winfx/2006/xaml/presentation"
        xmlns:x="http://schemas.microsoft.com/winfx/2006/xaml"
        xmlns:d="http://schemas.microsoft.com/expression/blend/2008"
        xmlns:mc="http://schemas.openxmlformats.org/markup-compatibility/2006"
        xmlns:local="clr-namespace:Save_the_Presents_Game"
        mc:Ignorable="d"
        Title="Item Drop Down Game" Height="700" Width="525" ResizeMode="CanMinimize">
    <Canvas Name="myCanvas" Background="Orange" Focusable="True" MouseMove="Canvas_MouseMove">

        <Label FontWeight="ExtraBlack" FontSize="18" Name="ScoreText">Caught:</Label>
        <Label FontWeight="ExtraBlack" FontSize="18" Name="missedText" Canvas.Left="387">Missed:</Label>

        <Rectangle Tag="playerRect" Name="player1" Width="80" Height="80" Canvas.Left="217" Canvas.Top="589"/>

    </Canvas>
Title=”Item Drop Down Game” Height=”700″ Width=”525″ ResizeMode=”CanMinimize”>Changes were made to the title
We changed the title item Drop Down Game, height set to 700 width set to 525 and resize mode set to Can Minimize so the window cannot be maximized only minimized.
We deleted the GRID tag and added the following tags in its place
<Canvas Name=”myCanvas” Background=”Orange” Focusable=”True” MouseMove=”Canvas_MouseMove”>
<Label FontWeight=”ExtraBlack” FontSize=”18″ Name=”ScoreText”>Caught:</Label>
<Label FontWeight=”ExtraBlack” FontSize=”18″ Name=”missedText” Canvas.Left=”387″>Missed:</Label>
<Rectangle Tag=”playerRect” Name=”player1″ Width=”80″ Height=”80″ Canvas.Left=”217″ Canvas.Top=”589″/>
</Canvas>
Here we are creating a new Canvas for this application, inside the canvas tag we set the background to orange, Focusable set to true and MouseMove event is added called Canvas_MouseMouse.
Inside the canvas we have 2 labels one is to show how many items we caught and one is to show how many items we missed
Last, we have a rectangle called player 1 with height and width of 80 pixels. This rectangle will be modified in the C# script later in the project, if you can’t see it on the screen now don’t worry, we will get to it.
Importing the images –

Right click on the Save the Presents Game in solutions explorer, hover over Add and Click on New Folder. We need to make a new folder to this project so we can add the images to it. This way we can be organised with the files we are using.
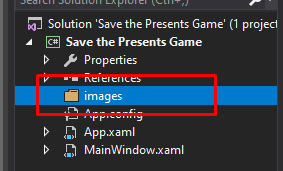
Here is the images folder created.

Now right click on it, hover over Add and Click on Existing Item.

Navigate the folder where the images are located, first you won’t be able to see it that’s cause we have to change the file type in the window, change the file type to image files and now you should be able to see the images in the folder where they were downloaded.
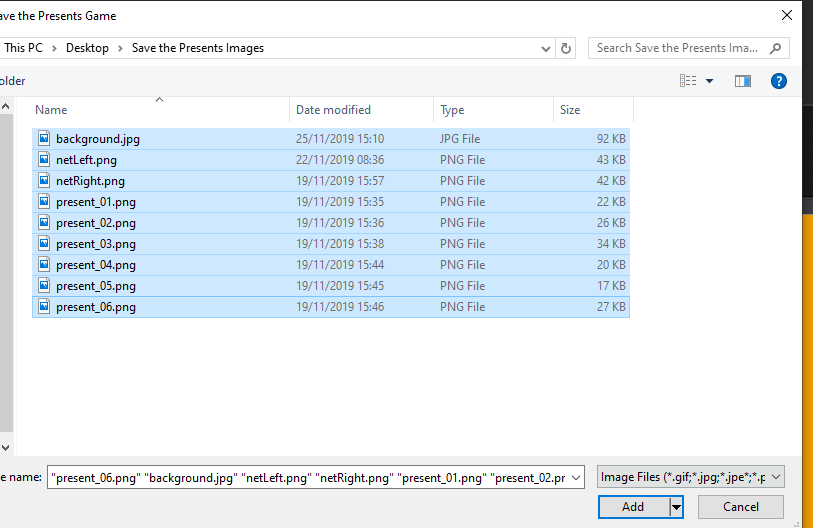
Once you find all the images, highlight all of them and click on Add.
This will add all the images to the images folder in the solutions explorer.
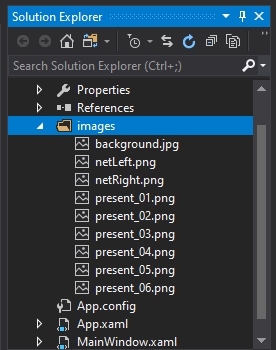
Now that the images have been added we can access them from the XAML or C# files.
Adding the Events –
We only have one event for this game, it’s the mouse move event linked to the canvas called Canvas_MouseMove. Right click on name of the event and click on Go to Definition. By doing this visual studio will add the event for us in the C# code.
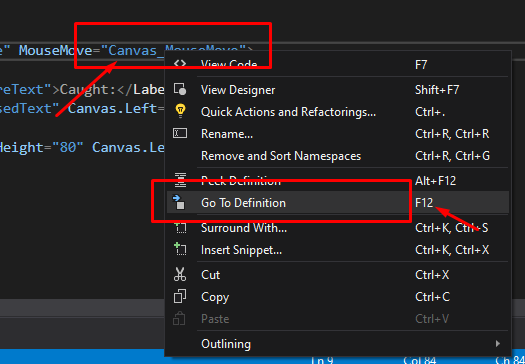
Visual Studio will take you to the code for and you will see the following

As you can see the Canvas_MouseMove event has been added to your game. Now we need to include a namespace in order to use the timer class. The namespaces are called on top of the program where you can see those Using keywords, they mean we need use some classes from those collections.
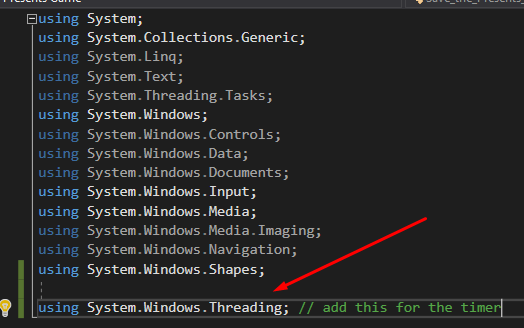
Right at the top where it shows all these using System…. Lines under them we need to write the following
Using System.Windows.Threading;
This line will give us access to the timer class which is crucial for this type of game.
Now let’s add the variables for this game.
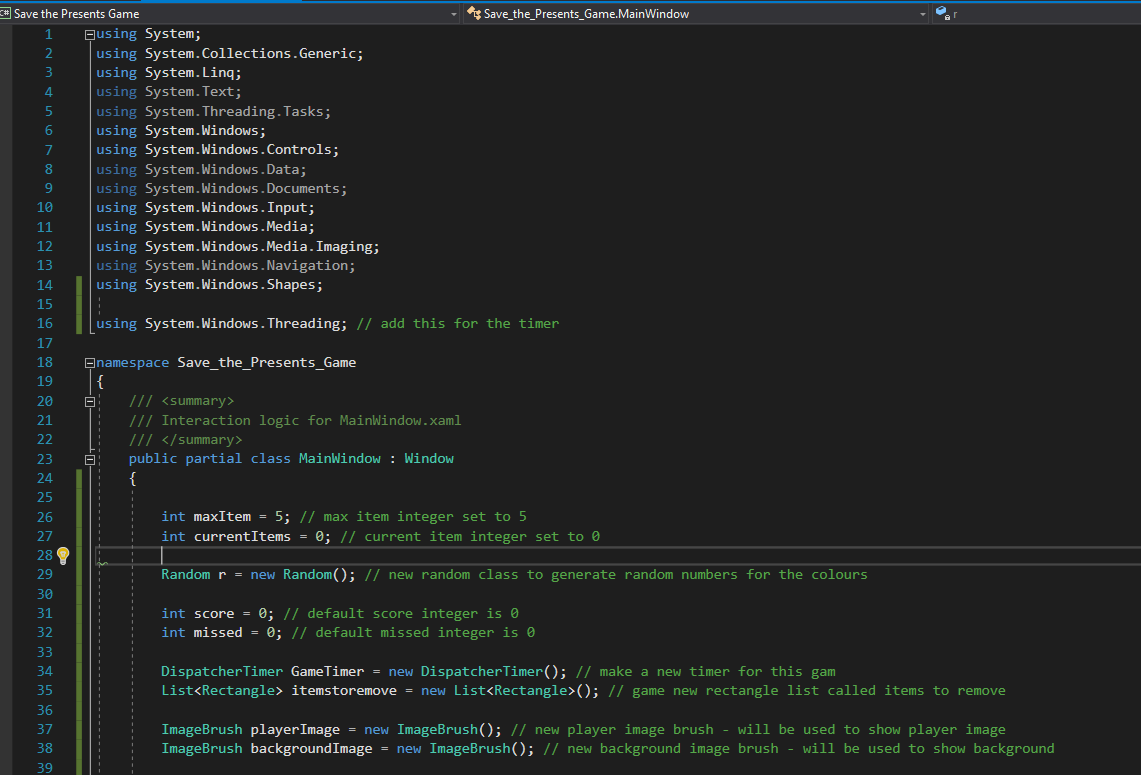
Add the variables at the top under the line public partial class: MainWindow : Window { <- make sure it’s after the first curly bracket otherwise it will give you lots of errors. Each of these lines are commented with the green line starting with the // for better readability but some more explanations will be given for this.
        int maxItem = 5; // max item integer set to 5
        int currentItems = 0; // current item integer set to 0

        Random r = new Random(); // new random class to generate random numbers

        int score = 0; // default score integer is 0
        int missed = 0; // default missed integer is 0

        DispatcherTimer GameTimer = new DispatcherTimer(); // make a new timer for this gam
        List<Rectangle> itemstoremove = new List<Rectangle>(); // game new rectangle list called items to remove

        ImageBrush playerImage = new ImageBrush(); // new player image brush - will be used to show player image
        ImageBrush backgroundImage = new ImageBrush(); // new background image brush - will be used to show background
The first two integers are created to be used for when and how many items to spawn for this game. We are also creating a Random class called r this will be used to set the objects randomly within the canvas so its not obvious for the player where the items will be coming from.
Int score and int missed are both to be used in the game to keep track of the items caught and missed by the player.
DispatcherTimer GameTimer = new DispatcherTimer(); is the main ingredient for this game, when we added that line system.windows.threading was for this DispatcherTimer class. It works similar to the windows form timer but it feels it has better performance efficiency.
LIST<Rectangle> is basically an empty list of rectangles called itemstoremove. As you can guess this list will be used to remove the items added to the canvas. We will add the rectangles not needed for this game into this List and then remove it from the canvas.
ImageBrush playerImage and backgroundImage will be used to load the player and background image and then apply them to the appropriate locations.
Now let’s add some code for initial app loading.
Public MainWindow() function –
This is a standard function that’s added to every WPF app as it initialises the loading process for each component when the app is debugged. We will add out own instructions to this function so it loads them when it loads the app too.
See the screen show below –

Add the codes where they are highlighted the first part is where we are telling the program what to do when we load it up and second part is some custom functions and events we need for rest of the game.
In the bottom part you will see you have a drop items event this is linked to the timer we made earlier, then we have a reset game function and make presents function. Each function will be instructed to a specific task for this game. Let’s take a closer look at the main window function first.
        public MainWindow()
        {
            InitializeComponent();
            // create the timer, add a drop item event and give it a 20 millisecond interval
            GameTimer.Tick += dropItems;
            GameTimer.Interval = TimeSpan.FromMilliseconds(20);
            GameTimer.Start();

            // load the images for background and player to the image brush class
            playerImage.ImageSource = new BitmapImage(new Uri("pack://application:,,,/images/netLeft.png"));
            backgroundImage.ImageSource = new BitmapImage(new Uri("pack://application:,,,/images/background.jpg"));
            // assign the pictures for the player object and canvas object
            player1.Fill = playerImage;
            myCanvas.Background = backgroundImage;
        }
Under the InitializeComponent(); line we need to start adding our instructions. First we are creating the tick event for the game timer name this event dropItems. This name may look familiar to you because you saw it in the screenshot before this. When you type it up it may have a red line under it but once you declare the event afterwards it will go away.
GameTimer.interval = TimeSpan.FromMilliseconds(20); this line means we want this timer event to trigger every 20 milliseconds.
GameTimer.Start(); will start the timer when the app loads.
The lines playerImage.ImageSource and backgroundImage.ImageSource are finding the images, we included to the project earlier and attaching them to the player rectangle and to the canvas background. Once we have declared where those images are then we can assign them to the canvas background and to the player rectangle fill. The fill option accepts colours and background images this is why we had to use ImageBrush class.
With the game loading done we need to add the following empty functions to bottom of the code make sure you added them before the 2 curly bracket ends so it’s part of the main window class and not outside of it.
        private void dropItems(object sender, EventArgs e)
        {

        }

        private void resetGame()
        {

        }

        private void makePresents()
        {

        }
These are the 3 empty functions for this game. The drop items function is an event that’s connected to the timer, once you type it up the red line from under the dropItems line will go away.
Reset Game and Make presents are custom function that will be ran separately when they are need. Let’s start by adding some instructions for the mouse move event. This event will trigger each time the move moves inside the main canvas. We want the player icon to follow the mouse but only on the horizontal axis.
Go to page 2 for more