WPF C# Tutorial – Playing Audio Files with Sound Player and Media Player in Visual Studio
- Subject: WPF C# Tutorials
- Learning Time: 1 hour
Now lets add the events to the program. Visual Studio lets us add events automatically.

Right click on the playsoundOne keyword and click on the option Go To Definition. This will automatically add the event to the C# script. Do the same for playsoundTwo, this way we do not have to manually enter them although that would work too.
With that being done lets see how to add the sound file to the project. We have a simple WAV file in here, you can download it from here. We will use this WAV file on both of the buttons.

Go to the solutions explorer, right click on the project name, hover over the ADD option and click on new folder.

Name this folder sound and press enter.

Right click on the folder, hover over the ADD option and click on the existing item. This will bring up the dialog box.

Select all files from the options panel now you will be able to see the WAV file. Click on the file and click ADD.
![]()
Here you can see the cello file being imported in the project. Click on the AUDIO file and see the properties option.

Change the Copy to Output Directory to COPY ALWAYS. This will allow the file to be copied each time the file is built.

Now lets go back to the Solutions Explorer, click on the little arrow next to the Properties option it will bring out the Resources.resx. Now double click on the resources.

From the Add resource option, click on the “Add Existing File”. This will open the dialog box to choose the file.
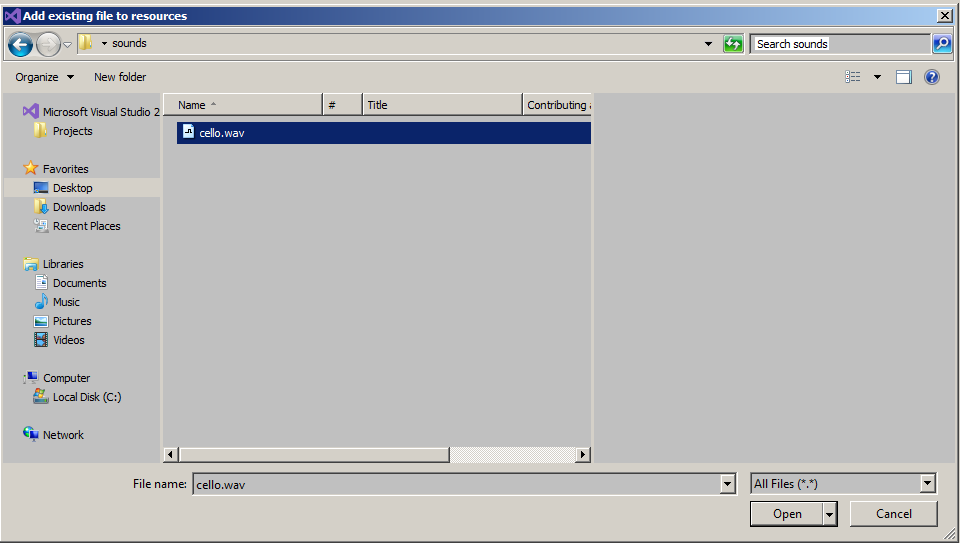
Select the WAV file and click Open.

Now you will see the audio file being added to the resources.

Above is the code for the playsoundOne event. Add the codes from inside it.
You will notice that SoundPlayer comes up with a red underline, now this is happening because we haven’t added the name space needed for the sound player class.

Add this line on top of the code, right under all the other USING tags. When you add this line the red lines should go away.
Lets take a closer look at the playsoundOne event.
        private void playsoundOne(object sender, RoutedEventArgs e)
        {
            // this is the sound player class, we are inseting a new sound file with it from the resources panel
            SoundPlayer playSound = new SoundPlayer(Properties.Resources.cello);
            playSound.Play(); // now it will play the sound file once
            //playSound.PlayLooping(); // This line will keep this file looping take out the comments from the front
        }
In the above function, we are calling the SoundPlayer class and giving it a name playSound. In the new instance we are allowing the sound player to find the sound file we added to the resources earlier.
Then we are using the PlaySound.Play() function to play the file. Now you will notice that we have put come commented code in the bottom there. PlaySound.PlayLooping(); this line will play the sound looping. You can play around with it and see what happens.
Now lets take a look at the play sound two event.
private void playsoundTwo(object sender, RoutedEventArgs e)
        {
            MediaPlayer playMedia = new MediaPlayer(); // making a new instance of the media player
            var uri = new Uri("pack://siteoforigin:,,,/sound/cello.wav"); // browsing to the sound folder and then the WAV file location
            playMedia.Open(uri); // inserting the URI to the media player
            playMedia.Play(); // playing the media file from the media player class

        }
Above event is playing the sound with a new Media player class. In this example we will play the sound file using a different class which is available in the recent version dot net framework.
First we are creating a new instance of the Media Player class called Play Media.
Then we are creating a new URI which will hold the location of the file. We want to use the file we have added to the sound folder earlier in the program. In this case we are looking for “pack://siteoforigin:,,,/sound/cello.wav”. In this line we are telling visual studio to look into the project folder and find the sound folder and grab the cello.wav file from there and loading it inside the media player class in the line playMedia.Open(uri); Lastly we will use the play option. In the media player class we cannot use the looping option.
Hopefully you found this tutorial helpful. See how you can incorporate it in your own projects and let us know how you got along. Debug the program and see how it plays. If you have any issues check the tutorial and check the full code below.
.
Pages: 1 Page 2 Full Source Code
Thank you for this! I was trying to use MediaPlayer and it kept failing, but SoundPlayer works great and loaded the file a little quicker I think, too.